
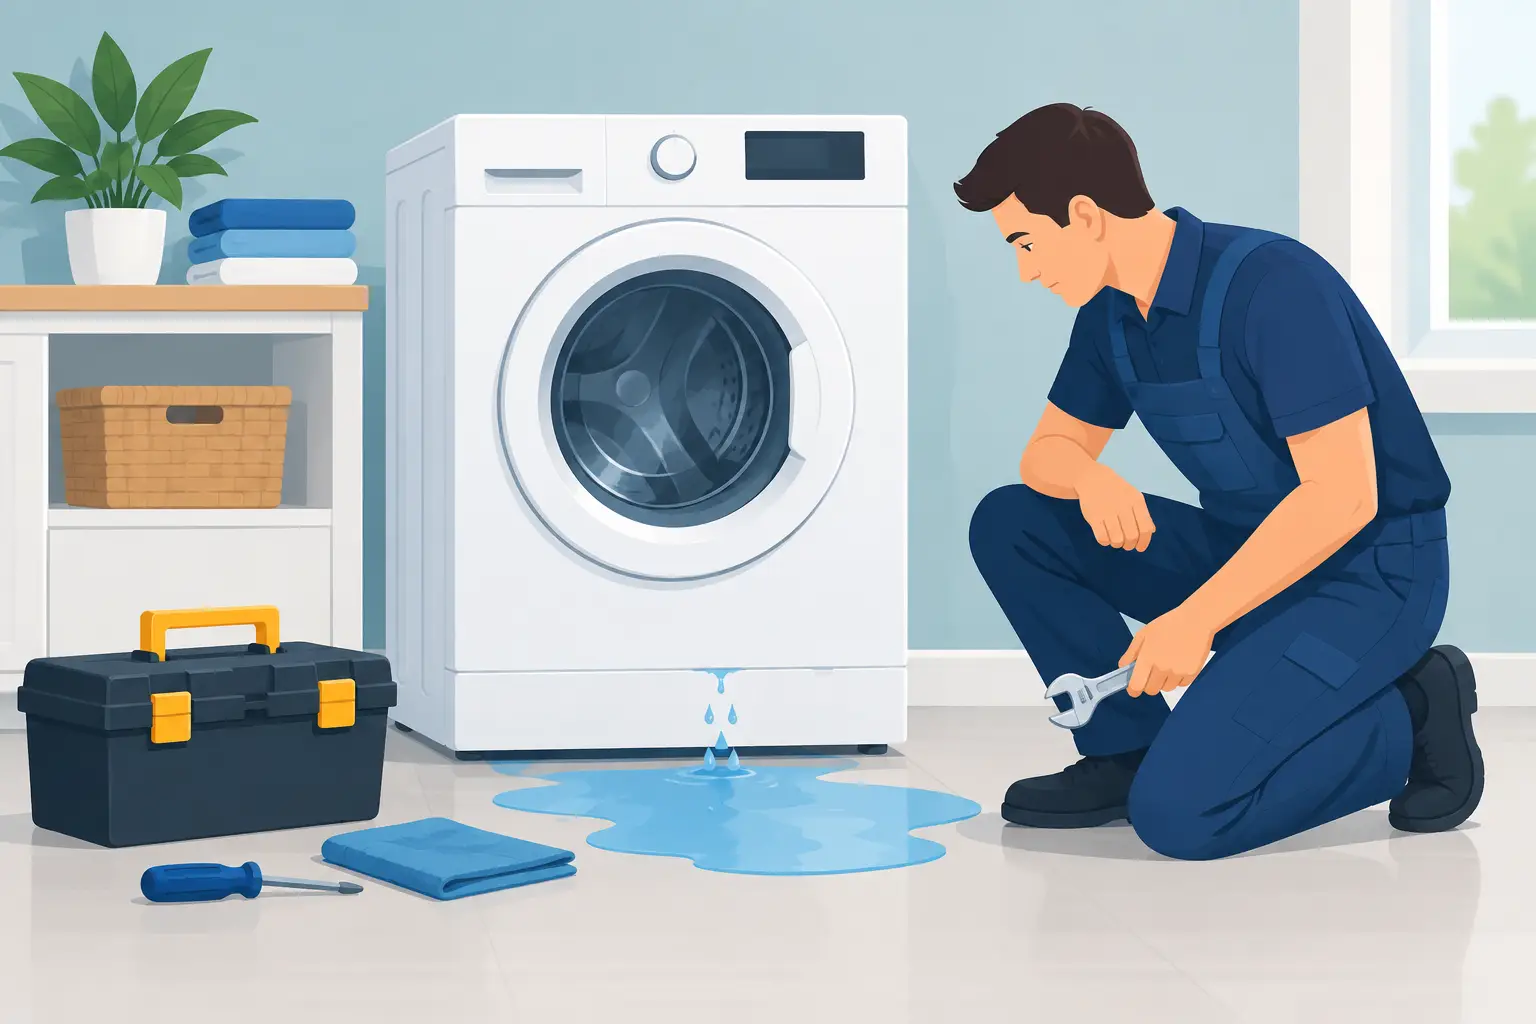
A washer leak can turn a normal laundry load into a wet-floor emergency quickly. Knowing how to fix leaking washer problems starts with locating where the water is coming from, not replacing parts at random. A loose hose may take minutes to correct, while water beneath the machine can point to a drain pump, tub seal, or internal hose that needs professional attention.
Before touching the washer, stop the cycle, unplug the machine, and shut off both water supply valves. Mop up standing water so you can see whether fresh water returns when you test the washer later. If water has reached an outlet, extension cord, or electrical connection, leave the appliance off and have it inspected.
How to Fix a Leaking Washer by Finding the Source
The location of the water is the strongest clue. Pull the washer away from the wall carefully and look at the floor, the back panel, the door or lid area, and the detergent dispenser. Then run a short rinse cycle while watching from a safe distance. Do not remove panels while the washer is plugged in or operating.
A leak at the back of the washer is commonly related to the supply hoses or drain hose. Water at the front of a front-load model often comes from the door gasket, dispenser, or an overloaded drum. Water underneath the cabinet can be more involved, especially if it appears only during draining or spinning.
A washer may also seem to leak when the real problem is an overflowing standpipe or a slow household drain. In that case, the machine may be functioning properly, but water backs up when the washer pumps out. Watching the drain connection during the drain portion of a cycle can help separate a washer repair from a plumbing issue.
Check the Water Supply Hoses First
The hot and cold supply hoses are a practical place to begin because they are visible and easy to inspect. Look for dripping at the wall valves, hose connections, and the points where the hoses attach to the washer. Tighten a loose connection gently by hand, then use a wrench only enough to make a small adjustment. Over-tightening can damage threads, washers, or fittings.
Check the hoses for cracks, bulges, corrosion, or a wet braided exterior. A damaged hose should be replaced rather than patched. Also inspect the small rubber washers inside the hose fittings. A flattened or missing washer can allow water to escape even if the connection feels tight.
If a supply hose leaks only while the washer is filling, it may be under pressure and failing intermittently. Shut off the water valves after laundry until the hose is repaired, particularly if you will be away from home.
Inspect the Drain Hose and Standpipe
A drain hose can leak if it is split, pushed too far into the standpipe, or loosely secured. The hose should be high enough to prevent siphoning but not sealed tightly inside the drain pipe. A completely sealed connection can trap air and force water back out.
Look for water around the standpipe when the washer drains. If water rises and spills from the pipe, stop using the machine until the drain blockage is addressed. Forcing repeated drain cycles can flood the laundry room and damage flooring, baseboards, and nearby cabinets.
Front-Load Washer Leaks Around the Door
Front-load washers rely on a flexible rubber door boot, also called a gasket, to hold water inside the drum. Small items such as coins, pins, pet hair, or fabric can collect in its folds and keep the door from sealing. Open the door and gently pull back the gasket folds to look for debris, tears, or mold buildup.
Wipe the gasket with a soft cloth and mild cleaner, then dry it thoroughly. Do not use sharp tools that could puncture the rubber. If the gasket is torn, warped, or pulling away from its retaining band, it usually needs replacement. This repair can involve removing the front panel and properly positioning a spring clamp, so it is often better handled by a technician.
Overloading can also push bulky items against the door and create a temporary leak. Large blankets, comforters, and heavy towels need room to move. If the washer leaked during one oversized load but not during normal loads, adjust load size before assuming a part has failed.
Check the Detergent Dispenser and Soap Amount
Water spilling from the dispenser drawer is often caused by detergent residue or too much soap. Remove the drawer, if your model allows it, and rinse away buildup from the compartments and channels. Use warm water and a soft brush, then make sure the drawer slides fully back into place.
High-efficiency washers require HE detergent. Regular detergent, or simply using more than the recommended amount, can create excess suds. Foam can force water out through the dispenser, door area, or vent openings. More detergent does not mean cleaner clothes. It often means residue, odor, and a more difficult rinse cycle.
If you have recently changed detergent or increased the amount used, return to the manufacturer’s recommended dose and run a rinse cycle. Persistent dispenser leaks after cleaning may indicate a cracked drawer, blocked inlet path, or valve problem.
Water Under the Washer May Mean an Internal Repair
A puddle directly beneath the cabinet deserves closer attention, particularly when it appears during the drain or spin cycle. Common causes include a loose internal hose, a failing drain pump, a clogged pump filter, or a worn tub seal. Top-load washers can also leak from a damaged tub, while front-load machines may develop pump or door-boot issues as they age.
Some front-load washers have an accessible pump filter behind a small lower panel. Check the owner’s manual before opening it. Place shallow pans and towels below the opening because trapped water can spill out. Remove lint, coins, and other debris only after the washer is unplugged. If the filter cap will not turn easily, do not force it. A broken cap or seal can create a larger leak.
A damaged tub seal may leak more noticeably when the washer is spinning. You may also hear rumbling from worn bearings or see rusty streaks beneath the machine. This is not a simple tightening job. The repair can require major disassembly, and the best choice depends on the washer’s age, condition, and expected repair cost.
Do Not Ignore a Washer That Leaks Only Sometimes
Intermittent leaks are frustrating because the floor may be dry by the time you inspect it. Pay attention to when the water appears. A leak during filling points toward supply hoses, inlet valves, or the dispenser. A leak during agitation may involve an overloaded tub, door gasket, or internal hose. A leak while draining commonly involves the drain hose, pump, filter, or standpipe.
Take a photo of the puddle and note the cycle stage, load size, and any unusual sounds. Those details help a repair technician diagnose the issue faster and avoid unnecessary part replacement.
When to Call for Washer Leak Repair
Call for service if you see a torn door gasket, a cracked tub, repeated water under the cabinet, an electrical concern, or a leak that returns after basic hose and dispenser checks. Continuing to run the washer can turn a manageable repair into damaged flooring, drywall, or cabinetry.
Modern washers, including Bosch, Electrolux, KitchenAid, and other premium laundry models, use brand-specific pumps, sensors, seals, and electronic controls. An experienced technician can identify whether the problem is a replaceable hose or pump, a failing valve, or a repair that no longer makes financial sense. For homeowners across Greater Phoenix, Hillside Appliance Services can diagnose washer leaks accurately and help restore the laundry routine without unnecessary delays.
A dry floor after one test does not always mean the problem is solved. Run a small monitored load once repairs or adjustments are complete, then check the hoses, door area, and floor again. Catching a small drip now is far easier than discovering a leak after a full load has been running unattended.